Building a diy truck bed slide can change the way you load, unload, and organize your truck. Every time gear gets buried at the back, frustration grows, and trips feel heavier than they should. The struggle is real for anyone who hauls tools, camping gear, or heavy supplies, but a simple sliding system can solve the problem.
Without a plan, tackling this project can feel overwhelming. Questions about materials, measurements, and installation pop up, making the idea of a diy truck bed slide seem complicated.
The good news is that with clear guidance, even a beginner can create a reliable slide that fits their truck perfectly. Step by step, you can build a system that saves time, reduces strain, and keeps everything organized. This guide will break down the process into easy-to-follow steps, so you can enjoy a smoother, safer, and more efficient truck experience.
Why a DIY Truck Bed Slide Makes Life Easier
Loading and unloading heavy gear can take a toll on anyone. With a diy truck bed slide, you can simplify this process and reduce strain on your back and arms. Items that used to be difficult to reach now glide smoothly to the edge of the bed, making every trip less stressful.
Organization is another big benefit. A diy truck bed slide allows you to create compartments or sections for tools, camping gear, or other equipment. You can keep items separated and easy to access, saving time when you need them most.
Safety also improves when you can slide heavy items instead of lifting them. This reduces the risk of dropping tools or straining your muscles. A well-built diy truck bed slide is a practical investment that makes daily truck use safer and more convenient.
Choosing the Right Materials for Your Project
Selecting the right materials is essential to ensure durability and smooth performance. Many people opt for sturdy plywood or aluminum for the base, paired with heavy-duty ball bearing slides to handle weight and friction.
Consider the load you plan to carry. If your gear is especially heavy, reinforced metal slides can provide extra strength, while lighter materials work well for moderate loads. You can also add rubber or foam padding to protect cargo from scratches or shifting during transport.
Another tip is to check for weather resistance. Materials like treated plywood or coated metals will withstand rain, snow, and heat, keeping your diy truck bed slide functional for years. Proper material selection ensures your project is both long-lasting and reliable.
Planning Your Truck Bed Slide Layout
Before cutting or assembling, take precise measurements of your truck bed. Length, width, and height all matter when planning a diy truck bed slide that fits perfectly without interfering with tailgate operation or side panels.
Decide on compartments or sections if you want to store different types of gear separately. Using dividers or custom-sized containers can make organization easier and prevent items from shifting while driving.
Sketch a detailed plan before starting construction. Mapping out each component and how it will fit ensures smooth assembly and helps avoid mistakes. A clear plan saves time and effort during the build process.
Step by Step Guide to Building Your Slide
Start by cutting your base panel to match your truck bed’s dimensions. Ensure all edges are smooth to avoid damage to the slides or cargo.
Next, attach the sliding rails according to the manufacturer’s instructions. Heavy-duty ball bearings or roller slides usually provide the smoothest movement. Double-check alignment to prevent binding or uneven sliding.
Once the rails are in place, test the slide with lightweight items first. Adjustments can be made before loading heavier gear. This step ensures your diy truck bed slide works perfectly every time.
Tips for Smooth Operation and Maintenance
Lubrication is key for smooth sliding action. Applying a thin layer of silicone or lithium grease to the rails can reduce friction and extend the lifespan of your diy truck bed slide.
Regular cleaning also helps. Dirt, sand, or debris can accumulate in the slides and cause sticking or wear. Wipe down the rails and remove any obstructions after each use.
Check for loose screws or bolts periodically. Tightening hardware ensures your diy truck bed slide remains sturdy and safe for heavy loads, keeping your gear secure on every trip.
Cost Saving Strategies for DIY Projects
One of the main advantages of a diy truck bed slide is the potential to save money compared to buying prebuilt systems. Sourcing materials from local suppliers or repurposing leftover lumber can reduce costs significantly.
Shopping for high-quality used slides or hardware is another option. Many people find lightly used components online or at salvage yards, allowing them to build a durable slide without paying full price.
Planning efficiently helps avoid mistakes that lead to wasted materials. Accurate measurements, proper cuts, and careful assembly minimize the need for replacements, keeping your diy truck bed slide project budget-friendly.
Enhancing Your Slide with Practical Features
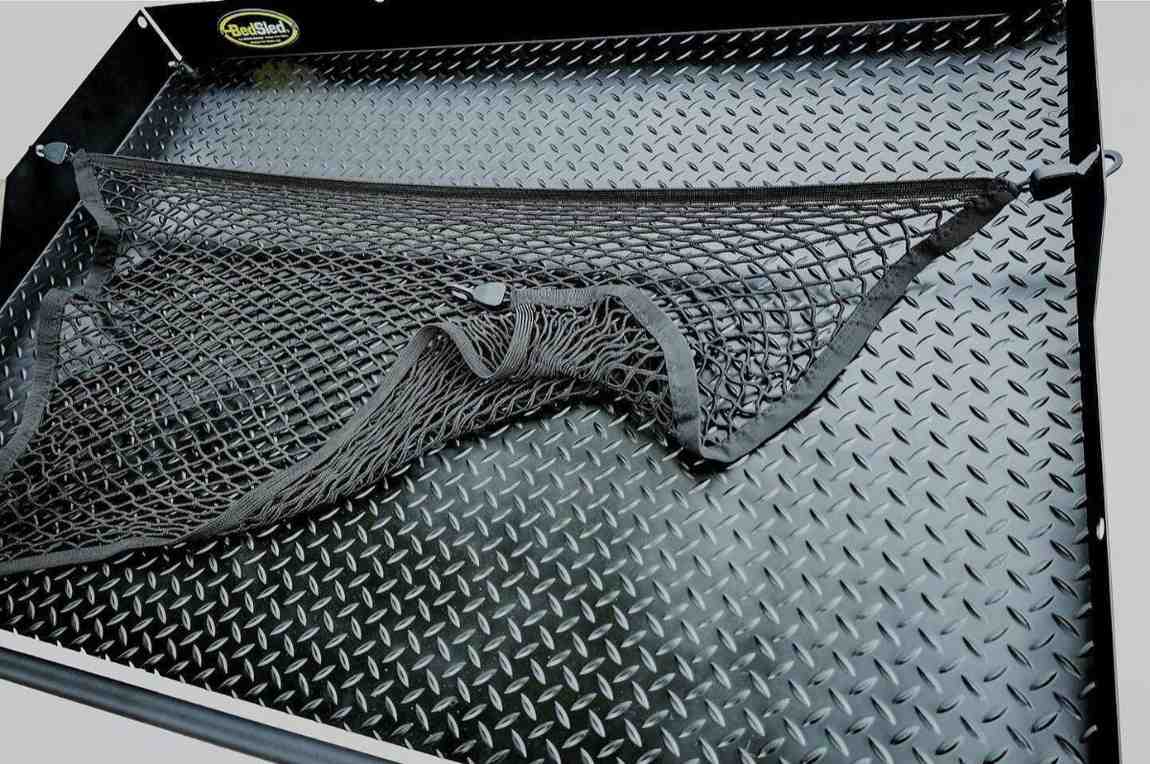
Adding features like compartments, tie-down points, or non-slip mats increases usability. Compartments help separate tools or gear, keeping everything organized and easy to reach.
Tie-down points allow you to secure heavy items during transit, preventing shifting and potential damage. Non-slip mats reduce sliding inside the tray and protect delicate items from scratches.
Some people add handles or small rollers for extra convenience. These small upgrades make daily use of your diy truck bed slide even easier and more enjoyable, creating a customized solution for your needs.
Testing and Fine Tuning for Long-Term Use
After installation, thoroughly test your diy truck bed slide with various loads. Start with light items and gradually increase weight to ensure smooth operation and stability.
Observe how it slides under full load and listen for unusual sounds. Minor adjustments can prevent long-term issues and ensure the slide functions reliably over time.
Fine-tuning may include adjusting the rails, adding extra lubrication, or repositioning dividers. Regular testing and maintenance help your diy truck bed slide remain a practical tool for years of heavy use.
Conclusion
Building a diy truck bed slide transforms the way you load, organize, and access your gear, making every trip smoother and more efficient. With careful planning, quality materials, and thoughtful design, even a first-time builder can create a slide that is durable, safe, and perfectly suited to their truck. Small upgrades like compartments, tie-down points, and non-slip mats further enhance functionality, giving you a practical solution that lasts for years.
If you’re ready to take your truck organization to the next level, visit mybedsled.com for detailed guides, tips, and high-quality materials to help you build the perfect diy truck bed slide.
Start your project today and experience the convenience and ease of having all your gear right at your fingertips.
FAQs
1. What is a diy truck bed slide?
A diy truck bed slide is a sliding tray system you can build yourself to make loading and unloading items from your truck easier and more organized.
2. What materials are best for a diy truck bed slide?
Sturdy plywood, aluminum, and heavy-duty ball bearing slides are commonly used for a durable and smooth diy truck bed slide.
3. How much weight can a diy truck bed slide hold?
Weight capacity depends on the materials and slides used, but properly built diy truck bed slides can hold hundreds of pounds safely.
4. Can I add compartments to my diy truck bed slide?
Yes, adding compartments or dividers helps organize tools, camping gear, or other items for easier access and protection.
5. How do I maintain a diy truck bed slide?
Regular cleaning, lubrication of rails, and checking for loose hardware will keep your diy truck bed slide operating smoothly for years.